How To Use ViewPager2 In Android: A Quick and Easy Guide
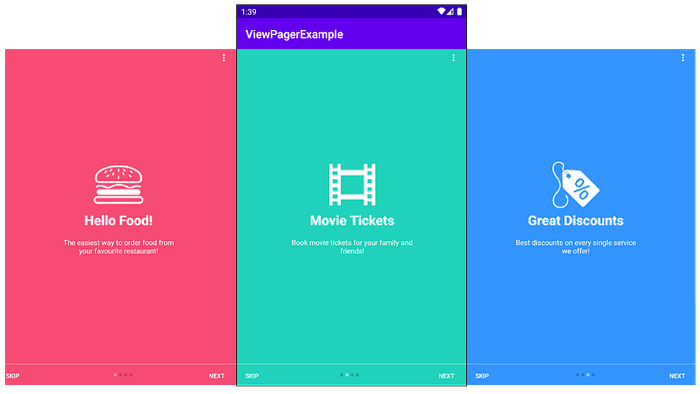
If you’re looking to implement a smooth, swipeable interface in your Android app, ViewPager2 is your best friend. It allows users to swipe through pages of content horizontally or vertically. The real magic comes when you use ViewPager2 with fragments, allowing you to display dynamic content with different screens. In this article, we’ll dive into how to set up ViewPager2 with real fragments, focusing on practical examples that you can easily integrate into your app.
What is ViewPager2?
ViewPager2 is the improved version of the older ViewPager. It’s built on top of RecyclerView, offering greater flexibility, performance, and features like vertical scrolling and right-to-left (RTL) support. The most common use case for ViewPager2 is displaying content as swipeable pages. You can either swipe horizontally (default) or vertically.
Step 1: Add ViewPager2 to Your Project
First things first, make sure you have ViewPager2 added to your project. Open your build.gradle file and add the following dependency:
dependencies {
    implementation 'androidx.viewpager2:viewpager2:1.0.0'
}
Step 2: Setting Up ViewPager2 in XML
Next, you’ll need to declare ViewPager2 in your layout XML file. Here’s a basic example where the ViewPager2 will take up the whole screen:
<androidx.viewpager2.widget.ViewPager2
    android:id="@+id/viewPager"
    android:layout_width="match_parent"
    android:layout_height="match_parent"
/>
This creates the container that will hold the fragments you’re about to create.
Step 3: Creating the Fragment Layout and Class
For each page in ViewPager2, you’ll display a different fragment. To do that, let’s start by creating a simple fragment layout, say for FragmentA:
<!-- res/layout/fragment_a.xml -->
<LinearLayout
    xmlns:android="http://schemas.android.com/apk/res/android"
    android:layout_width="match_parent"
    android:layout_height="match_parent"
    android:orientation="vertical"
    android:gravity="center">

<TextView
        android:id="@+id/textView"
        android:layout_width="wrap_content"
        android:layout_height="wrap_content"
        android:text="Fragment A"/>
</LinearLayout>
Now, create a Fragment class (FragmentA.java) that inflates this layout:
public class FragmentA extends Fragment {

@Nullable
    @Override
    public View onCreateView(@NonNull LayoutInflater inflater,
                             @Nullable ViewGroup container,
                             @Nullable Bundle savedInstanceState) {
        return inflater.inflate(R.layout.fragment_a, container, false);
    }
}
Repeat this process for FragmentB, FragmentC, or however many fragments you need for your ViewPager2.
Step 4: Create a FragmentStateAdapter
Now we need to connect these fragments to the ViewPager2. The easiest way to do this is by creating a custom adapter that extends FragmentStateAdapter. This adapter will tell ViewPager2 which fragment to display on each page.
Here’s how you can implement it:
public class MyFragmentAdapter extends FragmentStateAdapter {

public MyFragmentAdapter(@NonNull FragmentActivity fragmentActivity) {
        super(fragmentActivity);
    }
    @NonNull
    @Override
    public Fragment createFragment(int position) {
        // Determine which fragment to show based on position
        switch (position) {
            case 0:
                return new FragmentA(); // First page
            case 1:
                return new FragmentB(); // Second page
            default:
                return new FragmentC(); // Third page
        }
    }
    @Override
    public int getItemCount() {
        return 3; // Number of fragments (pages)
    }
}
This FragmentStateAdapter will return the appropriate fragment based on the current position of the swipe.
Step 5: Connecting ViewPager2 to the Adapter
Now, let’s hook everything up in the activity that hosts the ViewPager2. In this example, we’re setting up the ViewPager2 inside MainActivity:
public class MainActivity extends AppCompatActivity {

@Override
    protected void onCreate(Bundle savedInstanceState) {
        super.onCreate(savedInstanceState);
        setContentView(R.layout.activity_main);
        // Find the ViewPager2 widget
        ViewPager2 viewPager = findViewById(R.id.viewPager);
        // Create the adapter that will supply fragments to the ViewPager2
        MyFragmentAdapter adapter = new MyFragmentAdapter(this);
        // Set the adapter to the ViewPager2
        viewPager.setAdapter(adapter);
    }
}
In this code, we:
- Find the ViewPager2 widget by its ID.
- Create an instance of MyFragmentAdapter.
- Set the adapter to the ViewPager2.
Step 6: Customize the ViewPager2
Vertical Scrolling
Want to swipe vertically instead of horizontally? No problem! Just set the orientation of ViewPager2:
viewPager.setOrientation(ViewPager2.ORIENTATION_VERTICAL);Disabling Swipe
If you want to disable user swiping for any reason, you can easily do that:
viewPager.setUserInputEnabled(false);RTL Support
For apps that require right-to-left swiping (like for languages such as Arabic or Hebrew), ViewPager2 has built-in RTL support:
viewPager.setLayoutDirection(View.LAYOUT_DIRECTION_RTL);Page Transformer (Fancy Animations)
You can also add custom animations when swiping between pages using a PageTransformer. For example:
viewPager.setPageTransformer(new ViewPager2.PageTransformer() {
    @Override
    public void transformPage(@NonNull View page, float position) {
        page.setAlpha(0.5f + Math.abs(position) * 0.5f); // Fades out and in
    }
});
This will make your fragments fade in and out as you swipe!
Step 7: Handling Fragment Lifecycle
One important thing to remember is that fragments managed by ViewPager2 go through the usual fragment lifecycle. Be mindful of this if you need to manage resources, stop background tasks, or retain data when a fragment is swiped off-screen. Fragments are destroyed and recreated as you swipe, so manage state carefully.
Wrapping Up
Using ViewPager2 with real fragments is a powerful way to implement swipeable screens in your app. With its flexibility, ease of use, and advanced features like vertical scrolling and RTL support, ViewPager2 makes it simple to create dynamic, swipeable content in Android.
Whether you’re building a tutorial, onboarding flow, or an image gallery, ViewPager2 combined with fragments is a go-to solution for smooth user experiences. Try it out in your next Android project and give your app that modern, swipeable feel!
Happy coding
clap clap clap …

